Hilux Project Part 2
Following on from Part 1 this series of the Hilux build continues, at the end of 2011 I moved my operations from my little one car garage to a new property with a decent 7x12m garage. The Hilux project went from strength to strength during this time and in this Part 2 post we follow the build all the way to mid 2013 where it was ready to run and tune.
Enjoy.
After moving into this property I spent a month fitting out the garage with work benches, a grinding room and overhead storage, all made with 18mm MDF sheet and 50x50mmx1.6mm Galvinised SHS steel. The Chassis was elevated with the same tube and it allowed me to work on it at a hight that I could manage. I made a small lift in the roof to help me lift gearboxs and engines in and out of the new elevated chassis JIG
I made a rear axle with my intended track width and then wire framed the wheel guards, once this was complete I sheetmetaled in the gaps and filled and sanded with body filler.
Work on the chassis would continue with 0.8mm sheetmetal filling in the gaps in the wheel wells.
Welding the sheetmetal to the tube was difficult, this required the fitup to be as close to perfect as possible.
A lot of my time involved mocking up the position of components, the gearbox and engine would go in and out many times before the sheetmetal would be complete.
Rasiator positioning took a few months to figure out, there wasn’t a right or wrong position but in the end neither of these solutions were chosen.
I had dreams of making a dual plane intake manifold and I got most of the way there before I got cold feet on the design. I was scared of this splitting and I wasn’t happy with my welds, I was new to alloy TIG welding and my machine settings and preperation were not up to scratch.
I kept the steel doors and modified the hinges so that they could be removed easily without tools.
To continue the sheetmetal work I needed to make sure I would clear the exhaust, to do this I made a dump pipe that would allow me to build apon.
When I spent time up in QLD with Murray Coote working on their Time Attack car he asked if I could measure up a V8 Supercar air jack, we took my drawings and devloped a solution that we could make out of shock body material and spun aluminium. I made up all the spun components, Murray made up the bodys, King springs made the retraction springs and we adapted some seals from his suspension to make it all work.
The sheetmetal work would continue, remember pack in Part 1 where I extracted the rear cradle out of the crashed S15 to mock up the chassis? Well I failed to measure the alignment of it, once the chassis was up on the table is was very evident that this was twisted and bent.
The solution? Make my own cradle and suspension arms.
I adapted a set of V8 Supercar adjustable swaybar ends into a chromoly crossbar, in the flat position these flex and allow the car to roll left to right, in the upright position these are incredibly stiff and will stop the car from rolling side to side during hard cornering.
Get anytime access to the best Fabrication Courses, learn the staple skills of fabrication all the way through to roll cages and turbo manifolds.
I went ahead and braced the lower control arms as I was not sure of the loads imposed through the caster rods.
Once complete the suspension was a work of art.
With that we finally had a rolling chassis again, one step closer to completion and the pressure was growing.
I was invited to drive at WTAC in Sydney again and I would take the Hilux for display, by now I was sick of taking the engine in and out so I made up a dummy block out of tube, this held the cylider head in position and supported the gearbox in the engine bay. This would work for display and allow me to finalise all the cooling package.
The smaller jobs took the most time, I learnt to be patient and break down the items into invidual parts.
I decided to slow things down and be a little more calculated with the cooling package, I had wasted a lot of time with the failed rear mount radiator so I wanted to do this properly. Using foam blocks I was able to get the concept right and then design the radiator and intercooler to suit.
Of course all of this needed to fit within the confines of the Hilux front end, this would be the third tube structure I would make to hold all the stock parts. If I did it again I would build the front end and take a fibreglass mould to create a 1 piece front end making the mounting process very simple.
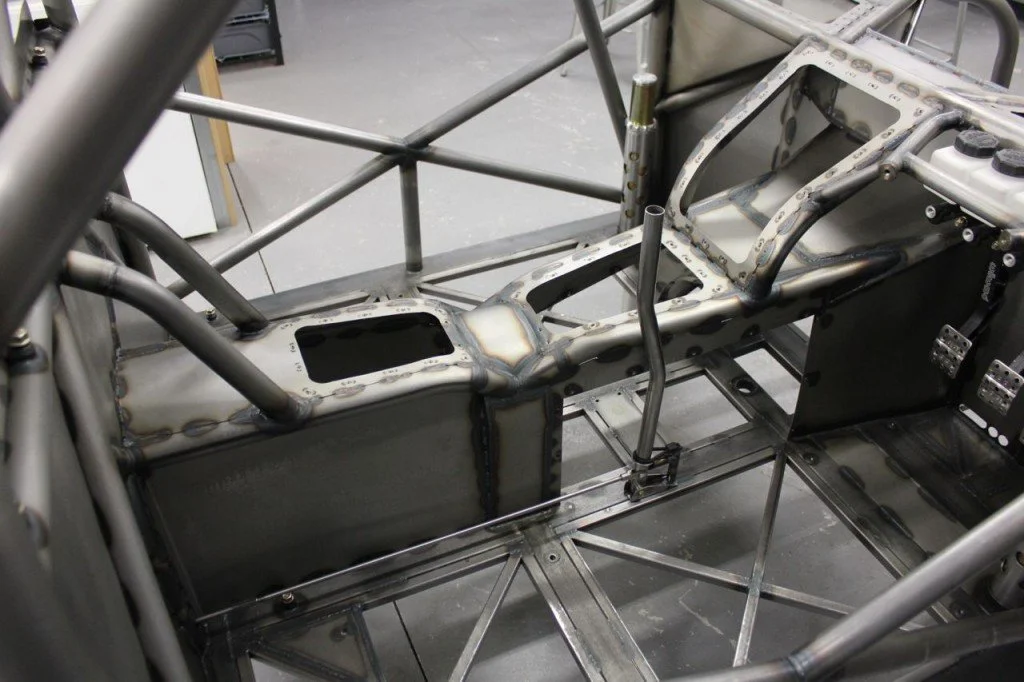
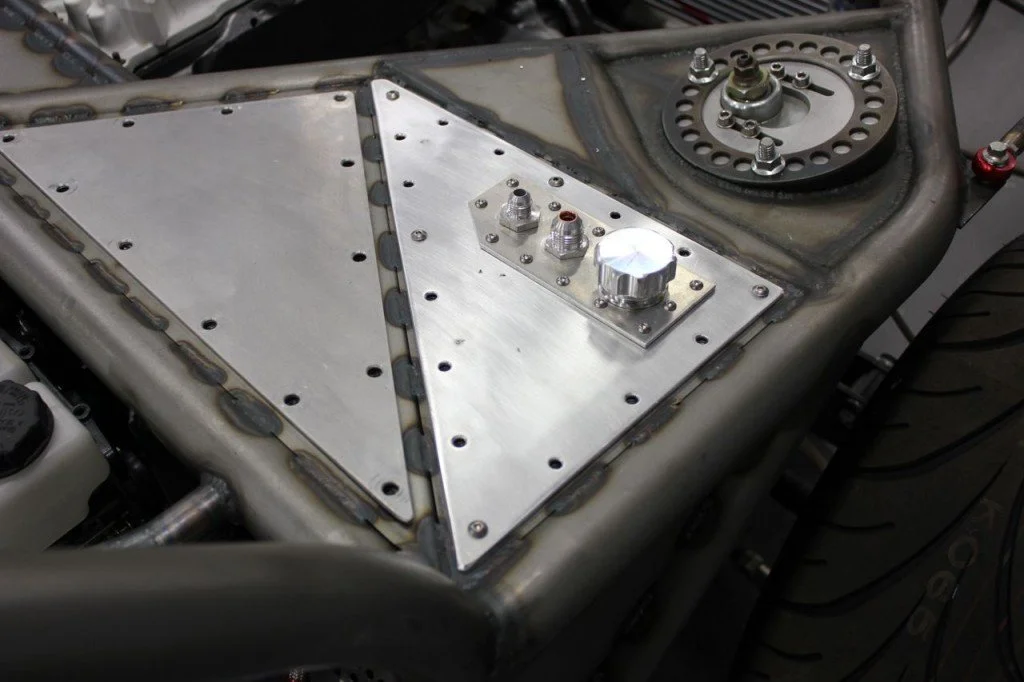
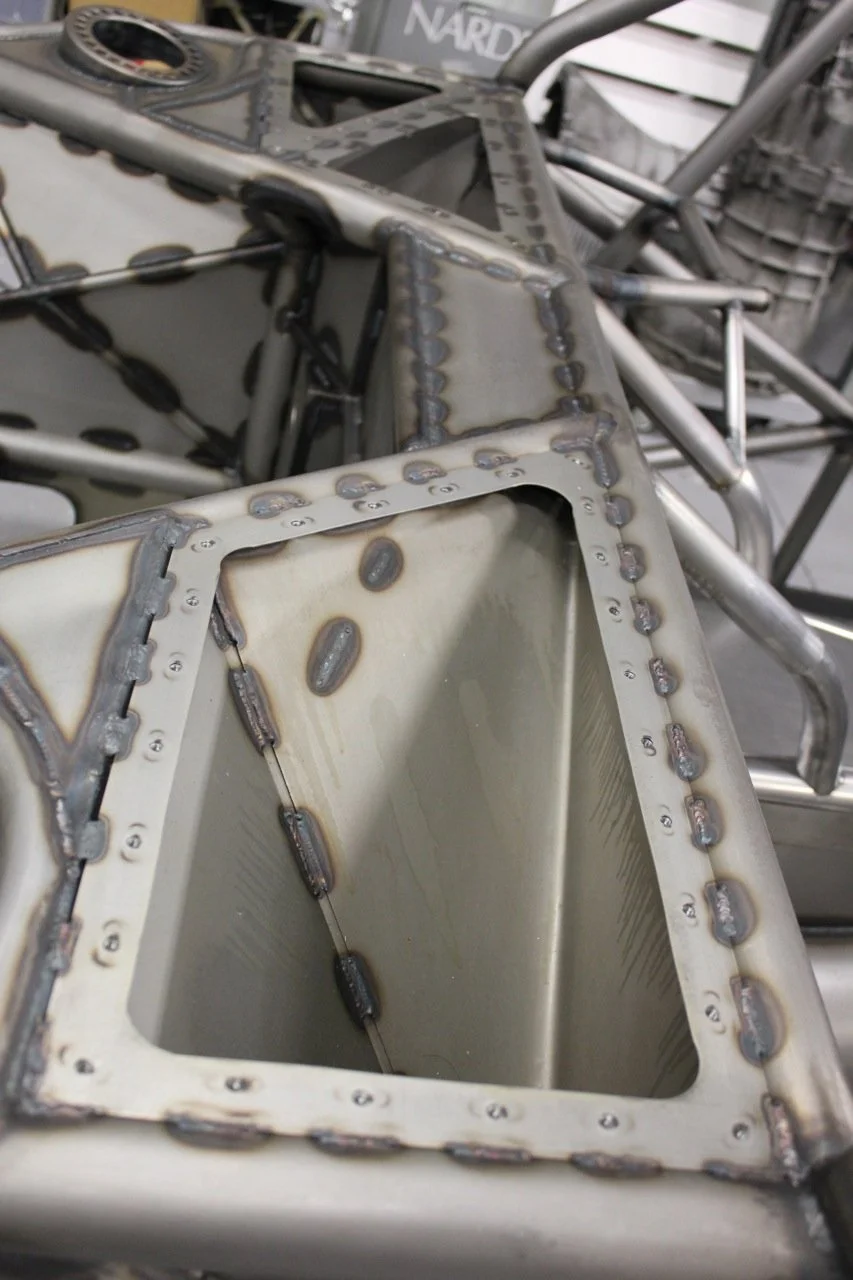
The progress continued on the chassis with panelling and fill plates taking up most of my nights.
The alloy floorpan is tapped into the chassis using M5 stainless countersunk screws.
Bodywork happened in between the chassis work and I was working late into the night everynight in preperation for WTAC.
The rear diffuser combined with the raw steel chassis and the combination of that suspension and Driftmaster combo just took things to another level.
Seeing the body on the chasssis for the first time was an incredble feeling, my Pegasus clamps arrived from overseas and I adapted these onto the TD06 compressor housing. I needed these to send to PWR so they could finalise my radiator and intercooler package, they would hand deliver these to me at WTAC and I was excited to tick that job off the list.
WTAC display created an incredible buzz and if there was anyone in the Australian car scene that didn’t know about the build then that was about to change. Speedhunters posted some photos and I would go on to start writing guest blogs for them, things were truly ramping up.
Back in the workshop and the work continued. I reshaped a set of front fenders which would allow me to cut the lip higher, time to make a mold and produce some parts.
I can’t tell you how many times I assembled and dissasembled the chassis.
The finer details of the chassis work.
I’d finally got to the point where components would be finalised and fitted ready for testing.
Seats, harnesses, steering wheel, dash, suspension and brakes all finalised.
The radiator and the intercooler arrived from PWR, I had been practicing my alloy welding but I was no where near PWR’s level so I was excited to have these made and the quality was incredible.
Smaller components started to be finalised, the power steering pump went down where the stock alternator usually is and a billet bracket was made to mount it there.
The plumbing and wiring had begun, arguably this was the most expensive component of the build thus far.
Get anytime access to the best Fabrication Courses, learn the staple skills of fabrication all the way through to roll cages and turbo manifolds.
All the catch tanks and reservoirs sit with in the chassis with external drain lines.
The plumbing continued.
I used Speedflow fittings and hoses which I could make to length, clock the rotation of the ends and then get a local company to crimp the ends, this produced very light hoses that were easy to assemble.
The new Exedy twin plate clutch arrived and I machined up a Z32 adapter plate which holds the starter motor. I swapped the gearbox to an RB25 unit as I prefer the shifter over the Z32 external one.
Time to make a swirl pot that would create a high fill bleed tank for the radiator system.
Ready to weld, I was still practicing and was not yet ready to weld things like this up.
The electrical side of things took a decent amount of brain power, I didn’t want to run factory sensors and went about redesigning the trigger system of the SR20. I made a trigger wheel that incorperated a GT101 sensor for both the crank measuring engine speed and the cam to create a reference signal. All of this is controlled by the Link ECU and the power supply is done by a PDM from Racepak.
With the engine back in and filled with oil it was ready for the wiring. Ill leave it here for Part 2 and we will cover the wired, tuned, tested and debuted Hilux in Part 3.
Thanks for reading.


