
Hilux Project Part 1
This post follows the ETS Drift Hilux through its inception and first year of progress, this began in late 2009 and stretched through to mid 2010.


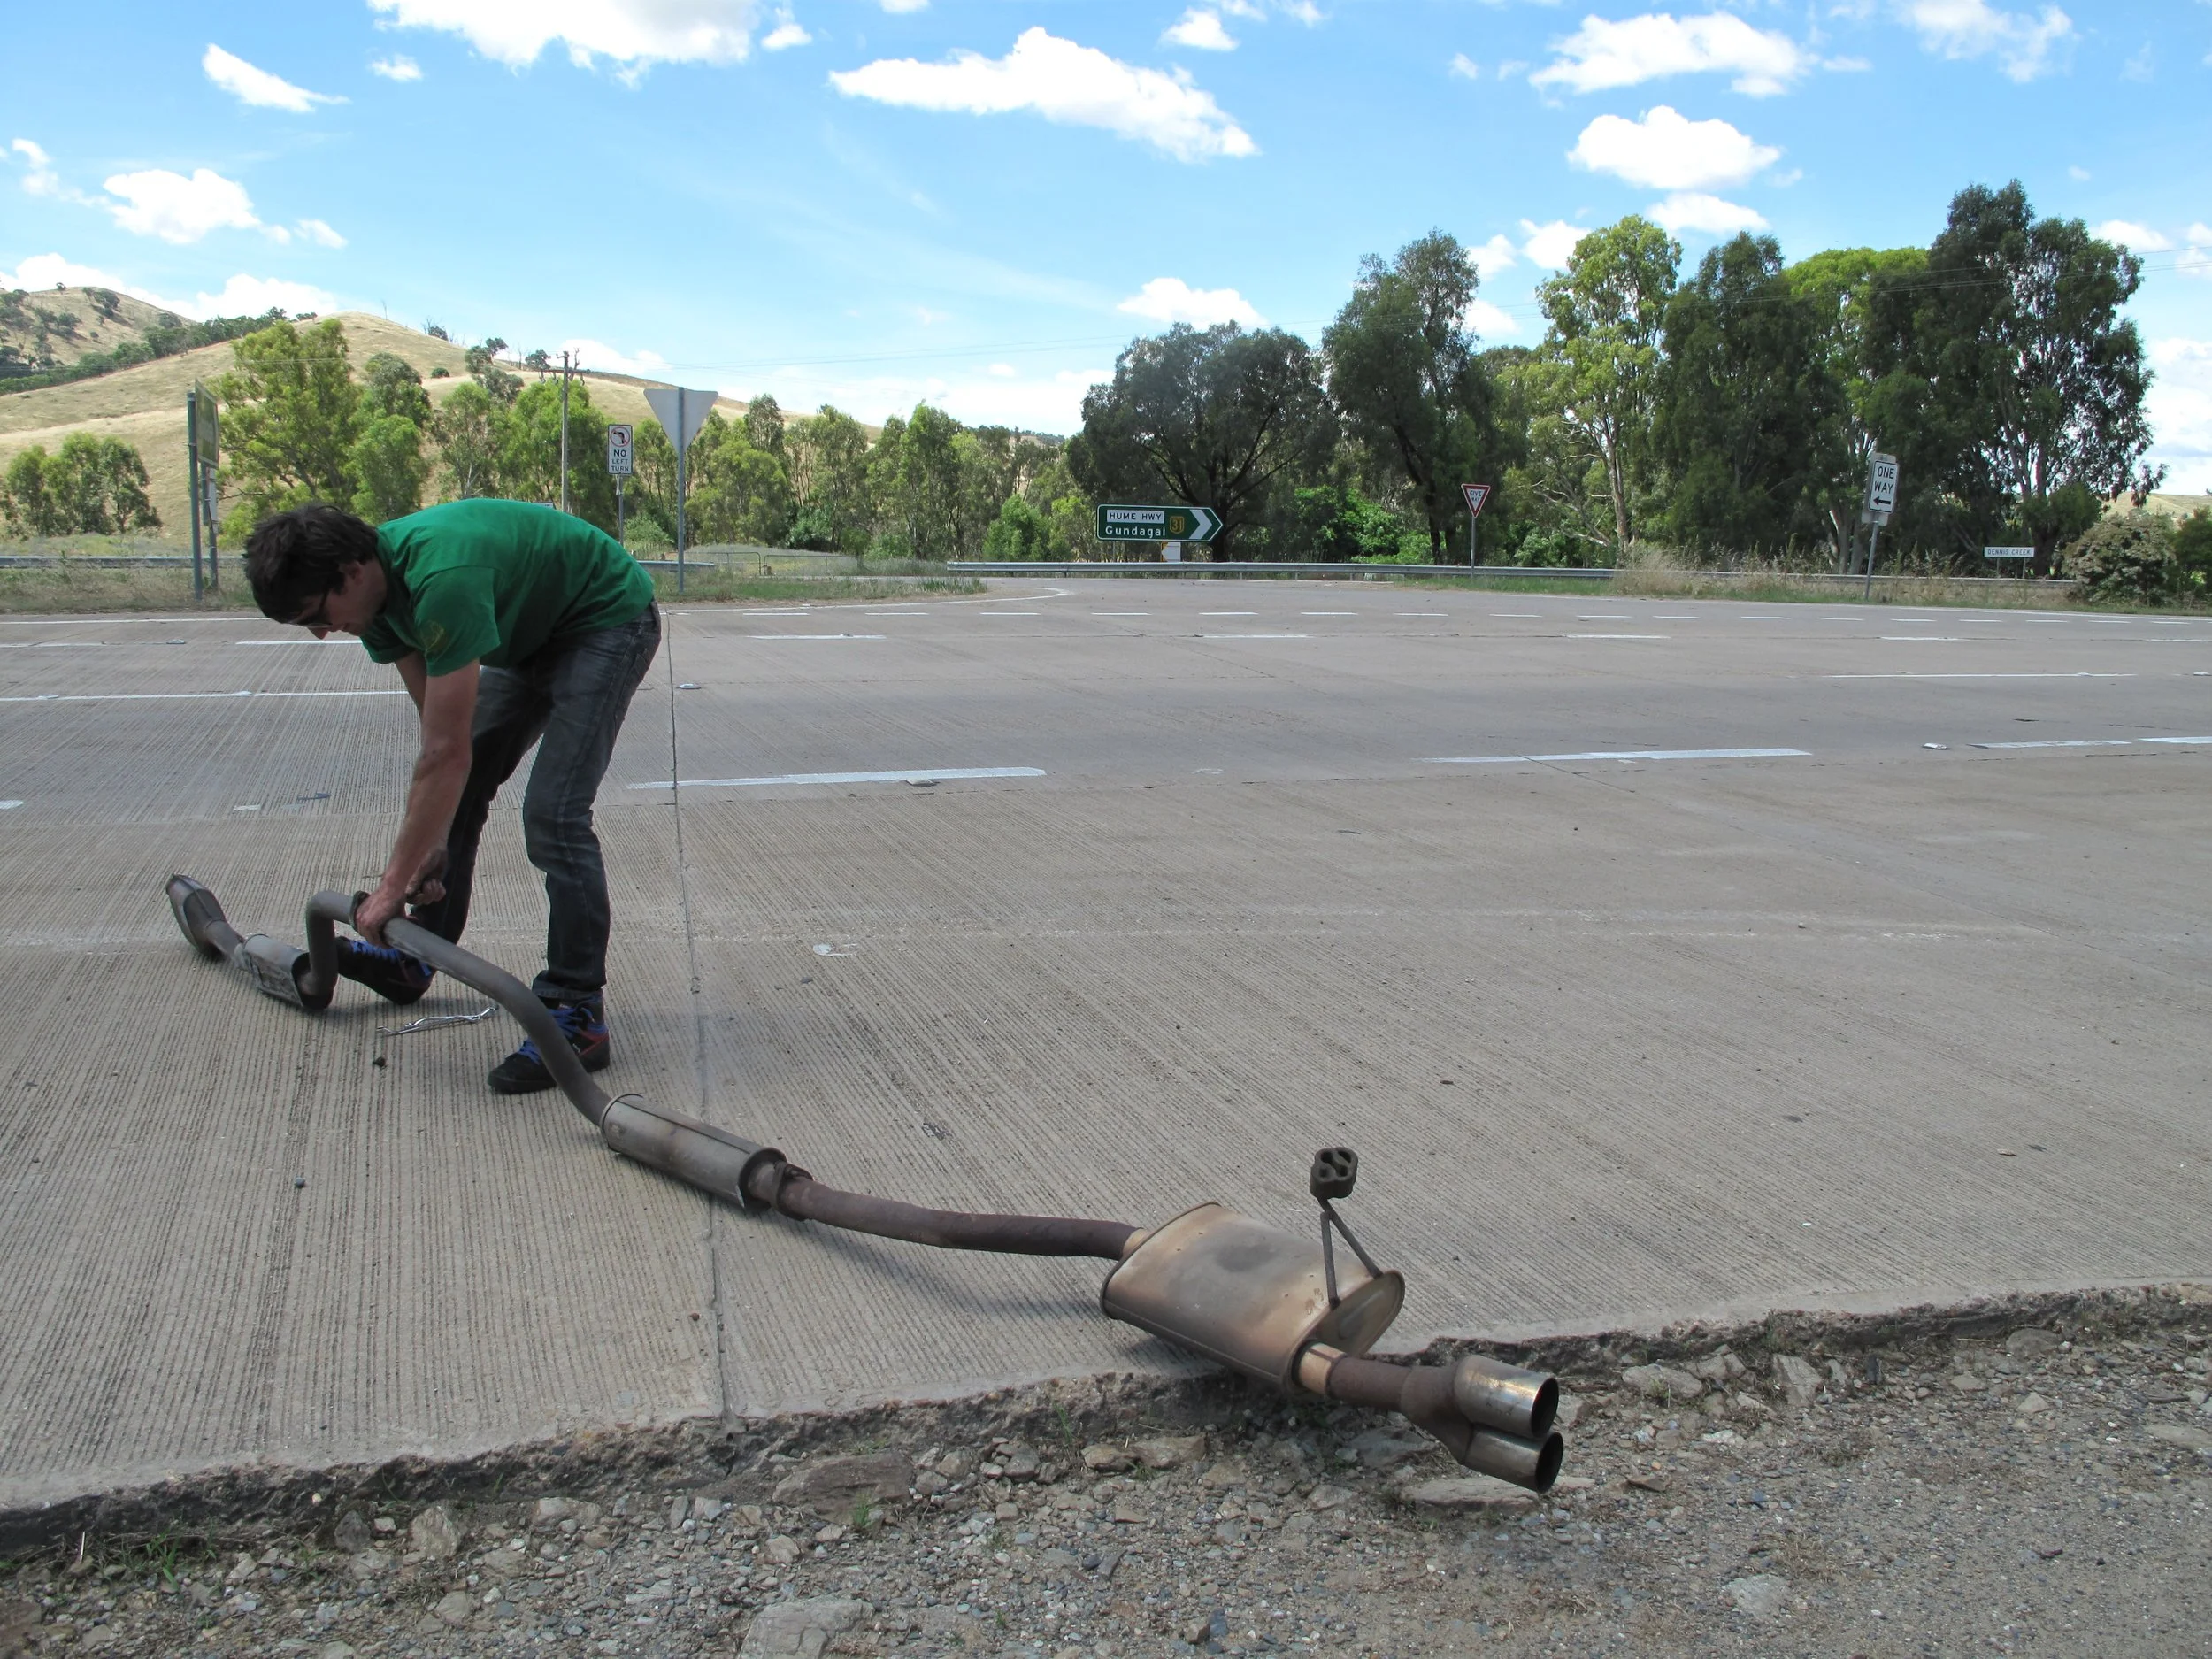
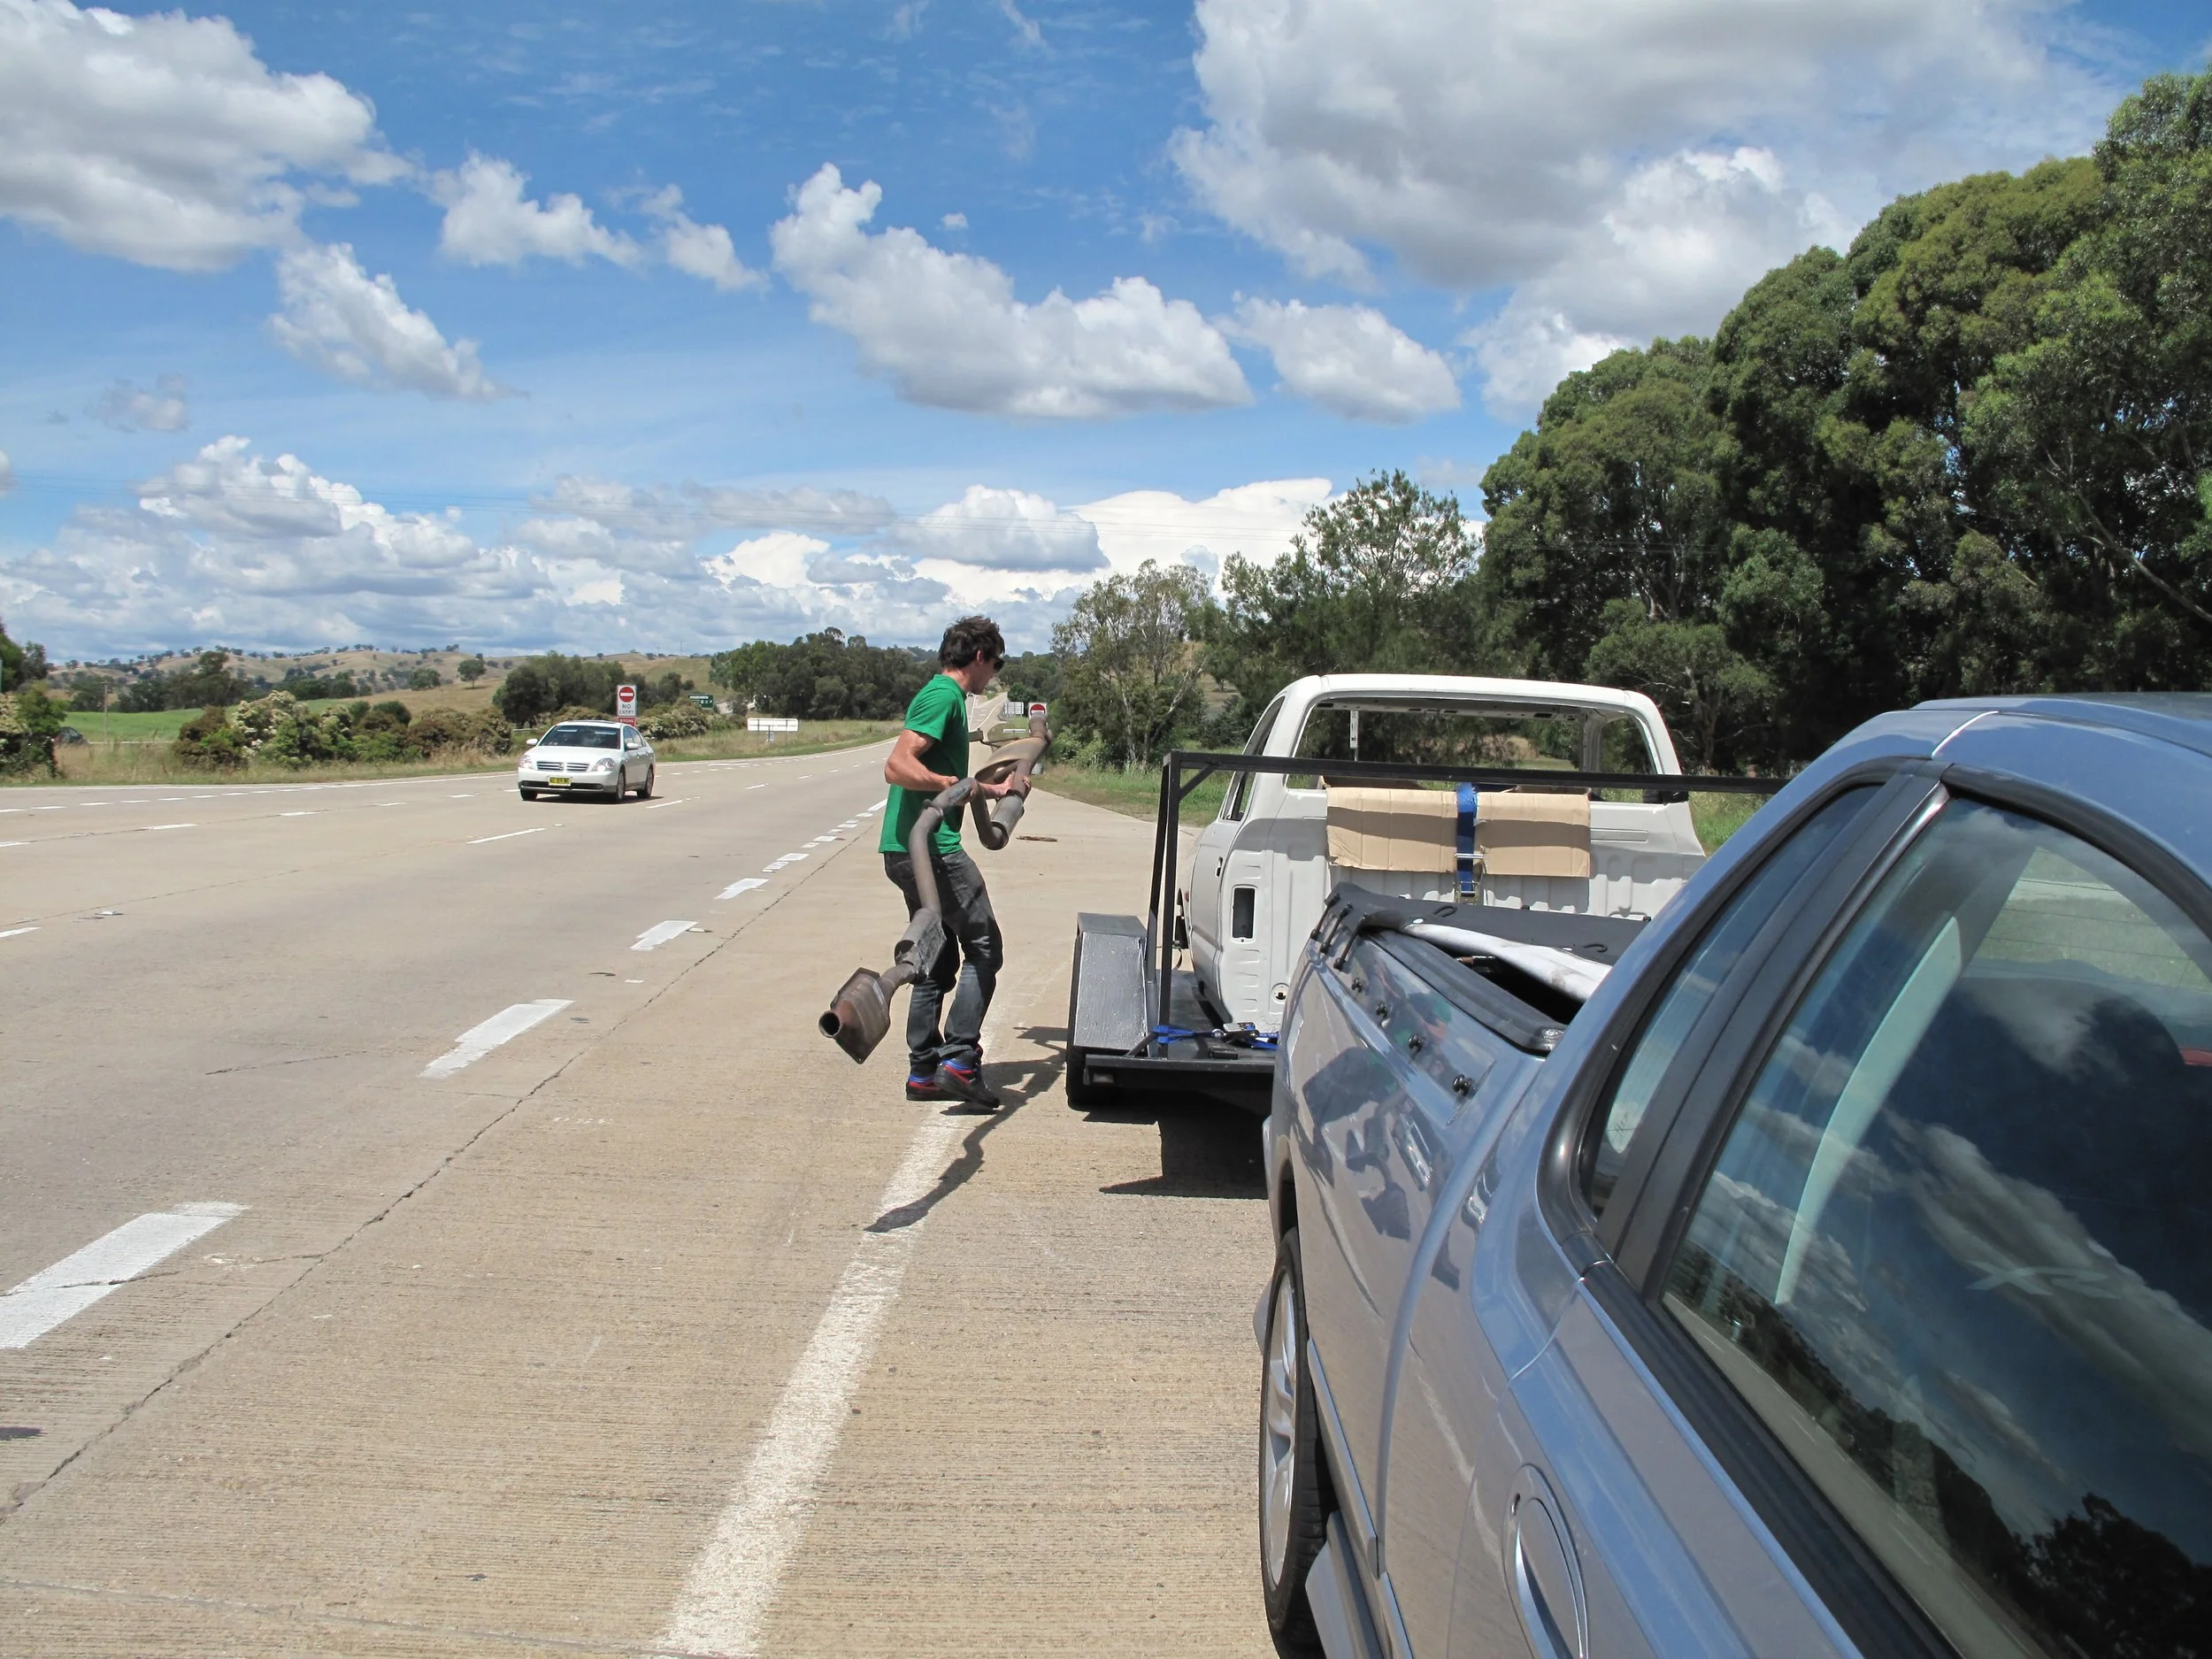
It all began with the cab, in the early 2000’s I built an airbagged 99 model Hilux and fell in love with the simplicity of the cab on chassis arrangement, this sparked the idea for the Drift Hilux, the plan was to simply seperate a Silvia in 3 parts, add the Hilux cab into the middle of it, add a roll cage for strength and ridgidity and I have myself a Drift Hilux. I found this cab in Sydney and paid $500 for it, unfortunately the approach into the workshops driveway was enough to break off my exhaust and I had to drive 10 hours home with the Barra 6 screaming straight out of the header, fun times.

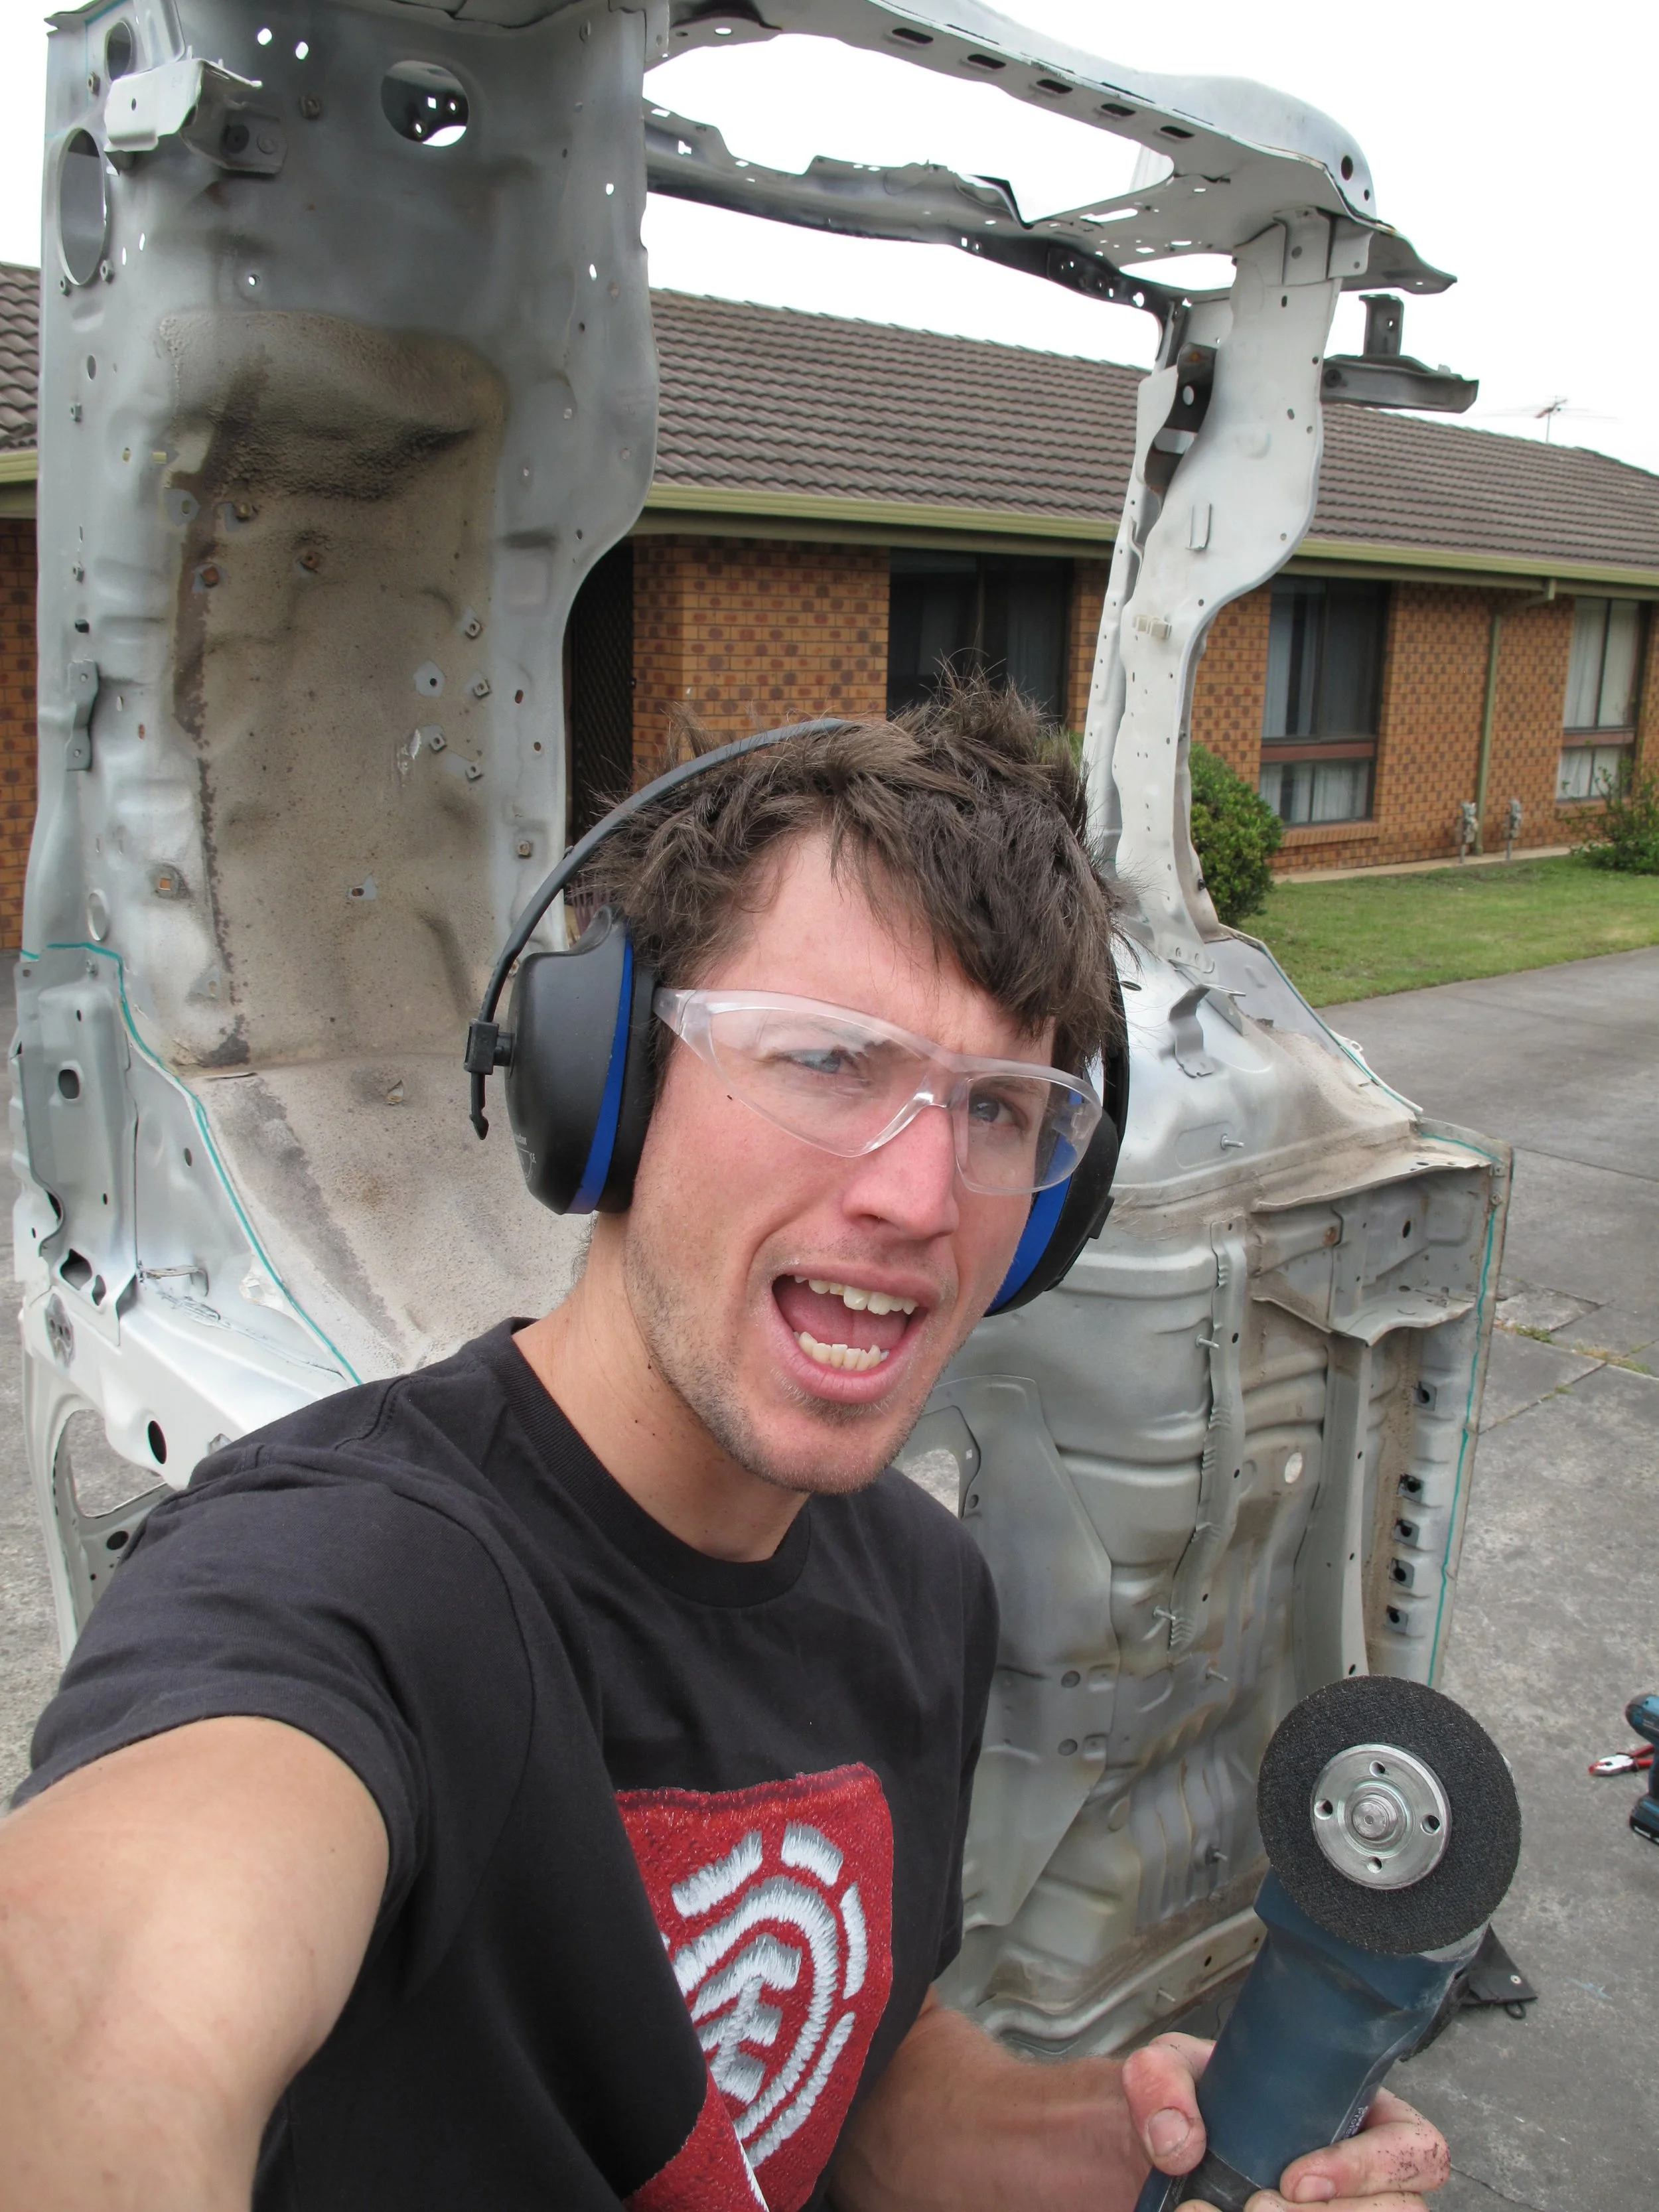


You will see I lived in a block of flats, this entire Part 1 post depicts this 2 bedroom one car garage setup, this placed some restrictions on me but my neighbour worked afternoon shift so I made sure I kept the cutting to the hours he was away. Cutting the floor out was an exciting moment for me, I didn’t think too much about where I was cutting because I really just wanted the door jams, roof and window support to remain.
Let the battle of the wheels begin.

I thought about this moment for over three years, I wasn’t daunted by the workload ahead of me I was more excited that I could finally stop thinking about the things I wanted to do and just start moving forward by doing them. I sold all the spares that came with the body and broke even on the project, off to a good start.


Prior to this I bought a crashed S15 that was the donor for all the parts, after running a tape measure over both the Hilux and the S15 I threw out the concept of joining the 3 parts together, I welded enough stock sheetmetal on my S13’s to know that it would be a nightmare job. Looking back on it now I actually didnt use a single piece of this driveline in the build but you will see a reacurring theme throughout this post.
“You have to break some eggs to make an omelete right?”


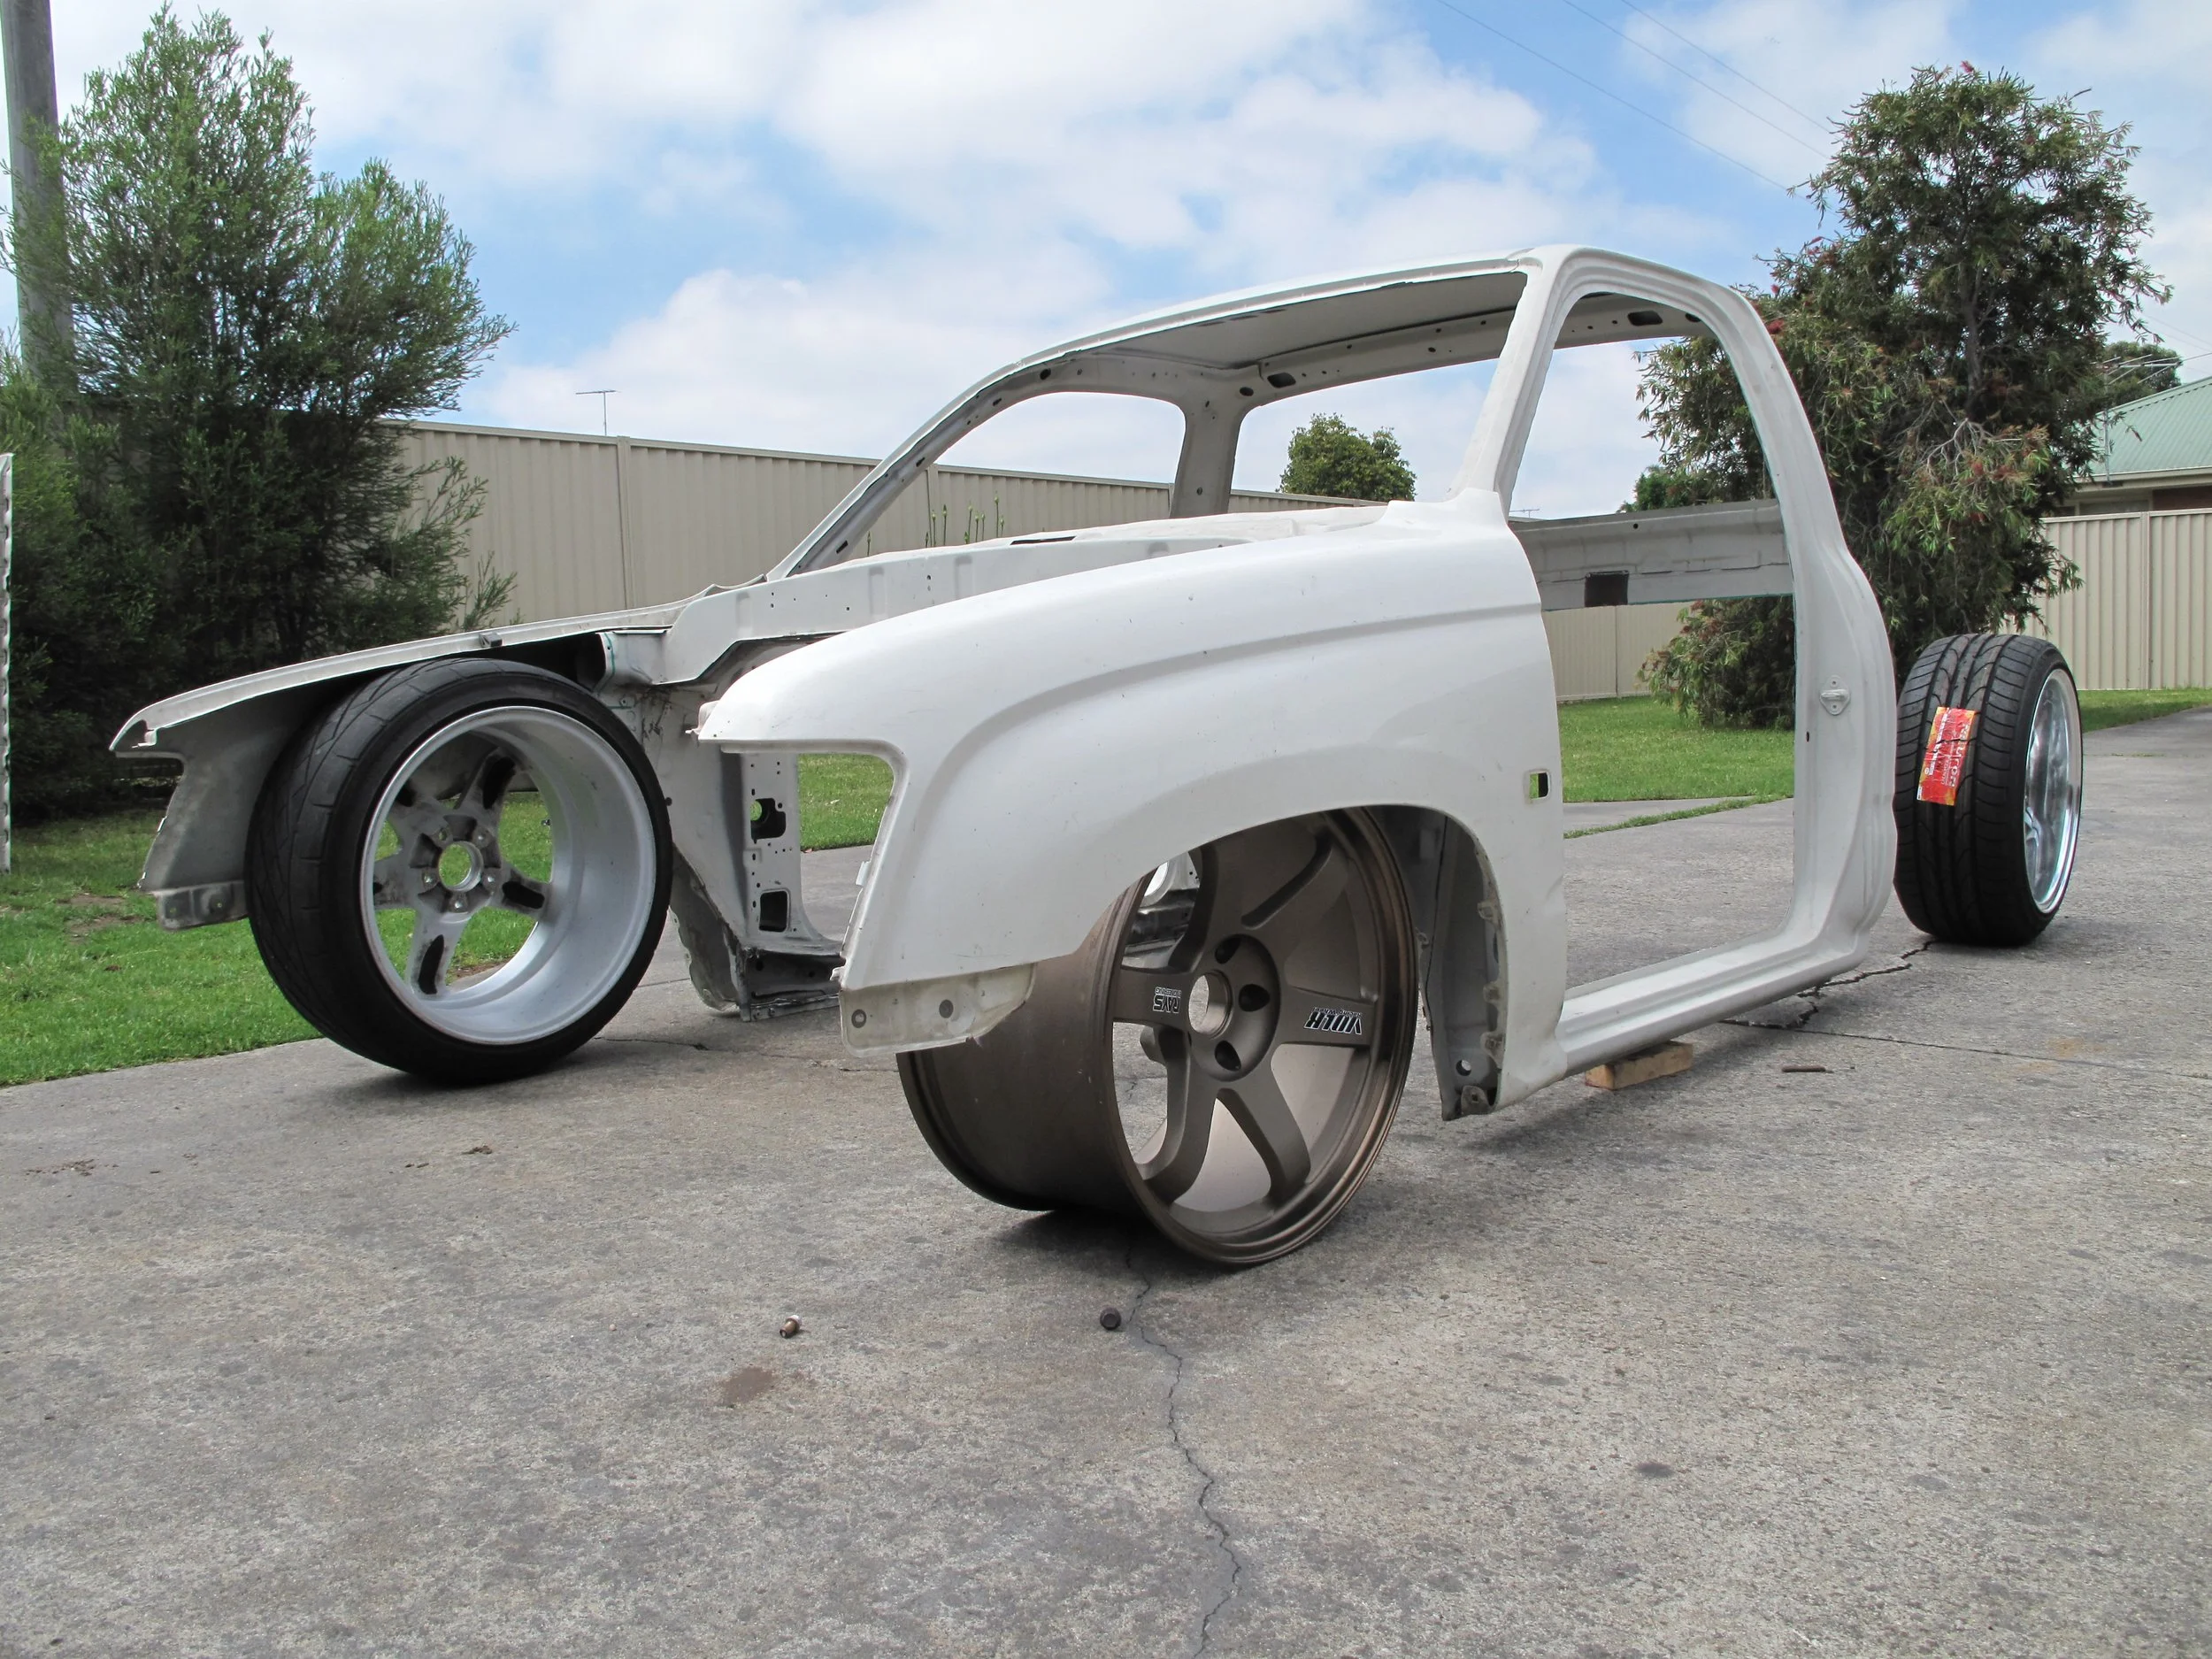
I made up a 50x75mm chassis JIG to house the wheelbase and track. I’d just come back from Japan and fell in love with the flow of a JZX drift car, here in this moment I could choose whatever wheelbase I wanted. Stock Hilux was 2850mm, S13 was 2550mm and a JZX100 was 2700mm. Due to the hight I was going to run this at I made the decision that 2700mm would be the perfect length, it would make it look proportional and also match the flow of a JZX drift car.


I quickly got to work making some chassis rails with the MIG welder, I would later throw all this in the bin but more on that soon.


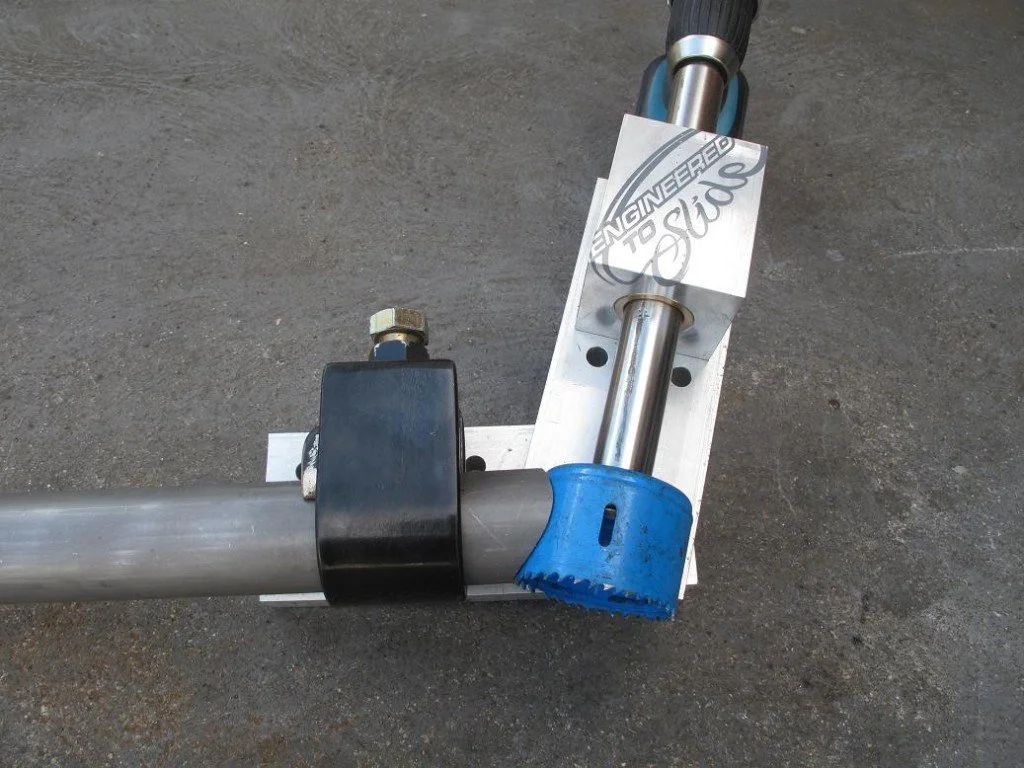


This is where things really started to take shape, I worked at Ford as a Prototype Fitter and Turner in the Machine shop and I filled in every spare moment trying to maximise my productivity when I finished my day job and started work at home. On average I would do about 3 hours a night and one day a weekend. I found that just being in the garage sped up my development time. I didn’t have any technology to help me here, it was me, a tape measure, steel tube, an angle grinder and a MIG welder. I made my own tube bender and tube notcher with scrap materials from work, having the ability to use a mill and a lathe at Ford was a game changer, my projects just had to fit in my backpack.


I was still running my drift cars at many events around the country but the Hilux and the workshop was always ready to soak up my hours.


At this moment I was stuggling, I MIG welded up the entire floor, it was loud, I was catching my little workshop on fire and I was less than happy with the results. I stopped before I started to weld any cage joins, I decided to chat to a few people and get their opinions on things. I spoke to Luke Mcpherson who was a local workshop owner who built many race cars in his time. He said to use a TIG welder to lift my work to another level.
I didn’t have a TIG or the skills to use one. I ordered a machine and spoke to a friend Greg Shields who had a friend Swanny that ran night classes on TIG welding. The machine arrived and Swanny came over, he connected up the leads and ran some test welds, he handed me the TIG and welded up a few pieces of scrap material, he simply nodded and said yep that will be strong enough before heading off down the driveway and leaving me too this whole new world.


With the TIG I now had the ability to weld cleanly, safely and with a level of precision I had always dreamt of. I couldn’t bare to look at that floor that was MIG welded so I cut it off and scrapped it. Gone was the concept of doing a simple slap together Hilux looking S13, we were on another path all together.


The new floor took shape rapidly, the TIG was my new best friend and now I was shifting everything, the motor dropped down and shifted back and I was looking at the whole project with different eyes.


The TIG allowed me to start refining small parts, keep in mind that every single part on thid entire project was hand measured, drilled, cut and filed, no CAD no laser cutters and no technology was involved. Knowing what I know now this came at a big time expense but it created a build that organically developed infront of my eyes. I didnt know what stuff was going to look like until it was done.


Murray and Josh Coote from MCA helped me out by supplying the coilovers which I travelled up to QLD to help on their Time Attack car as payment. I originally planned on having S13 leangth rear coilovers but it was later decided that shorter shocks would be better suited, they accomodated every requirement and I would call Murray one of my inspirations after spending a couple of weekes with him.


With the new floor complete and the strut tops in place I could start to work on the turbo placement, steering position and rear fenders. I used an Extra Cab bedside and then added 150mm into its length to achieve the 2700mm wheelbase. I folded this out of sheetmetal and then welded it in.


At every point in this build I juggled form and function, if the form wasn’t right but the function was perfect I completely missed the point of this build. Aesthetics inspire and motivate me to continue to push this project forward, angles, triangles and tubes joining in perfect symmetry was the aim of the game.


The rear fenders needed 100+mm added into the width and I tried many different ways to achieve this, on this attempt it was a failure but I would revisit this later on.


Still just tacked together I was eager to get it out into the winter sun. One year had passed and I felt like I had hit a wall.


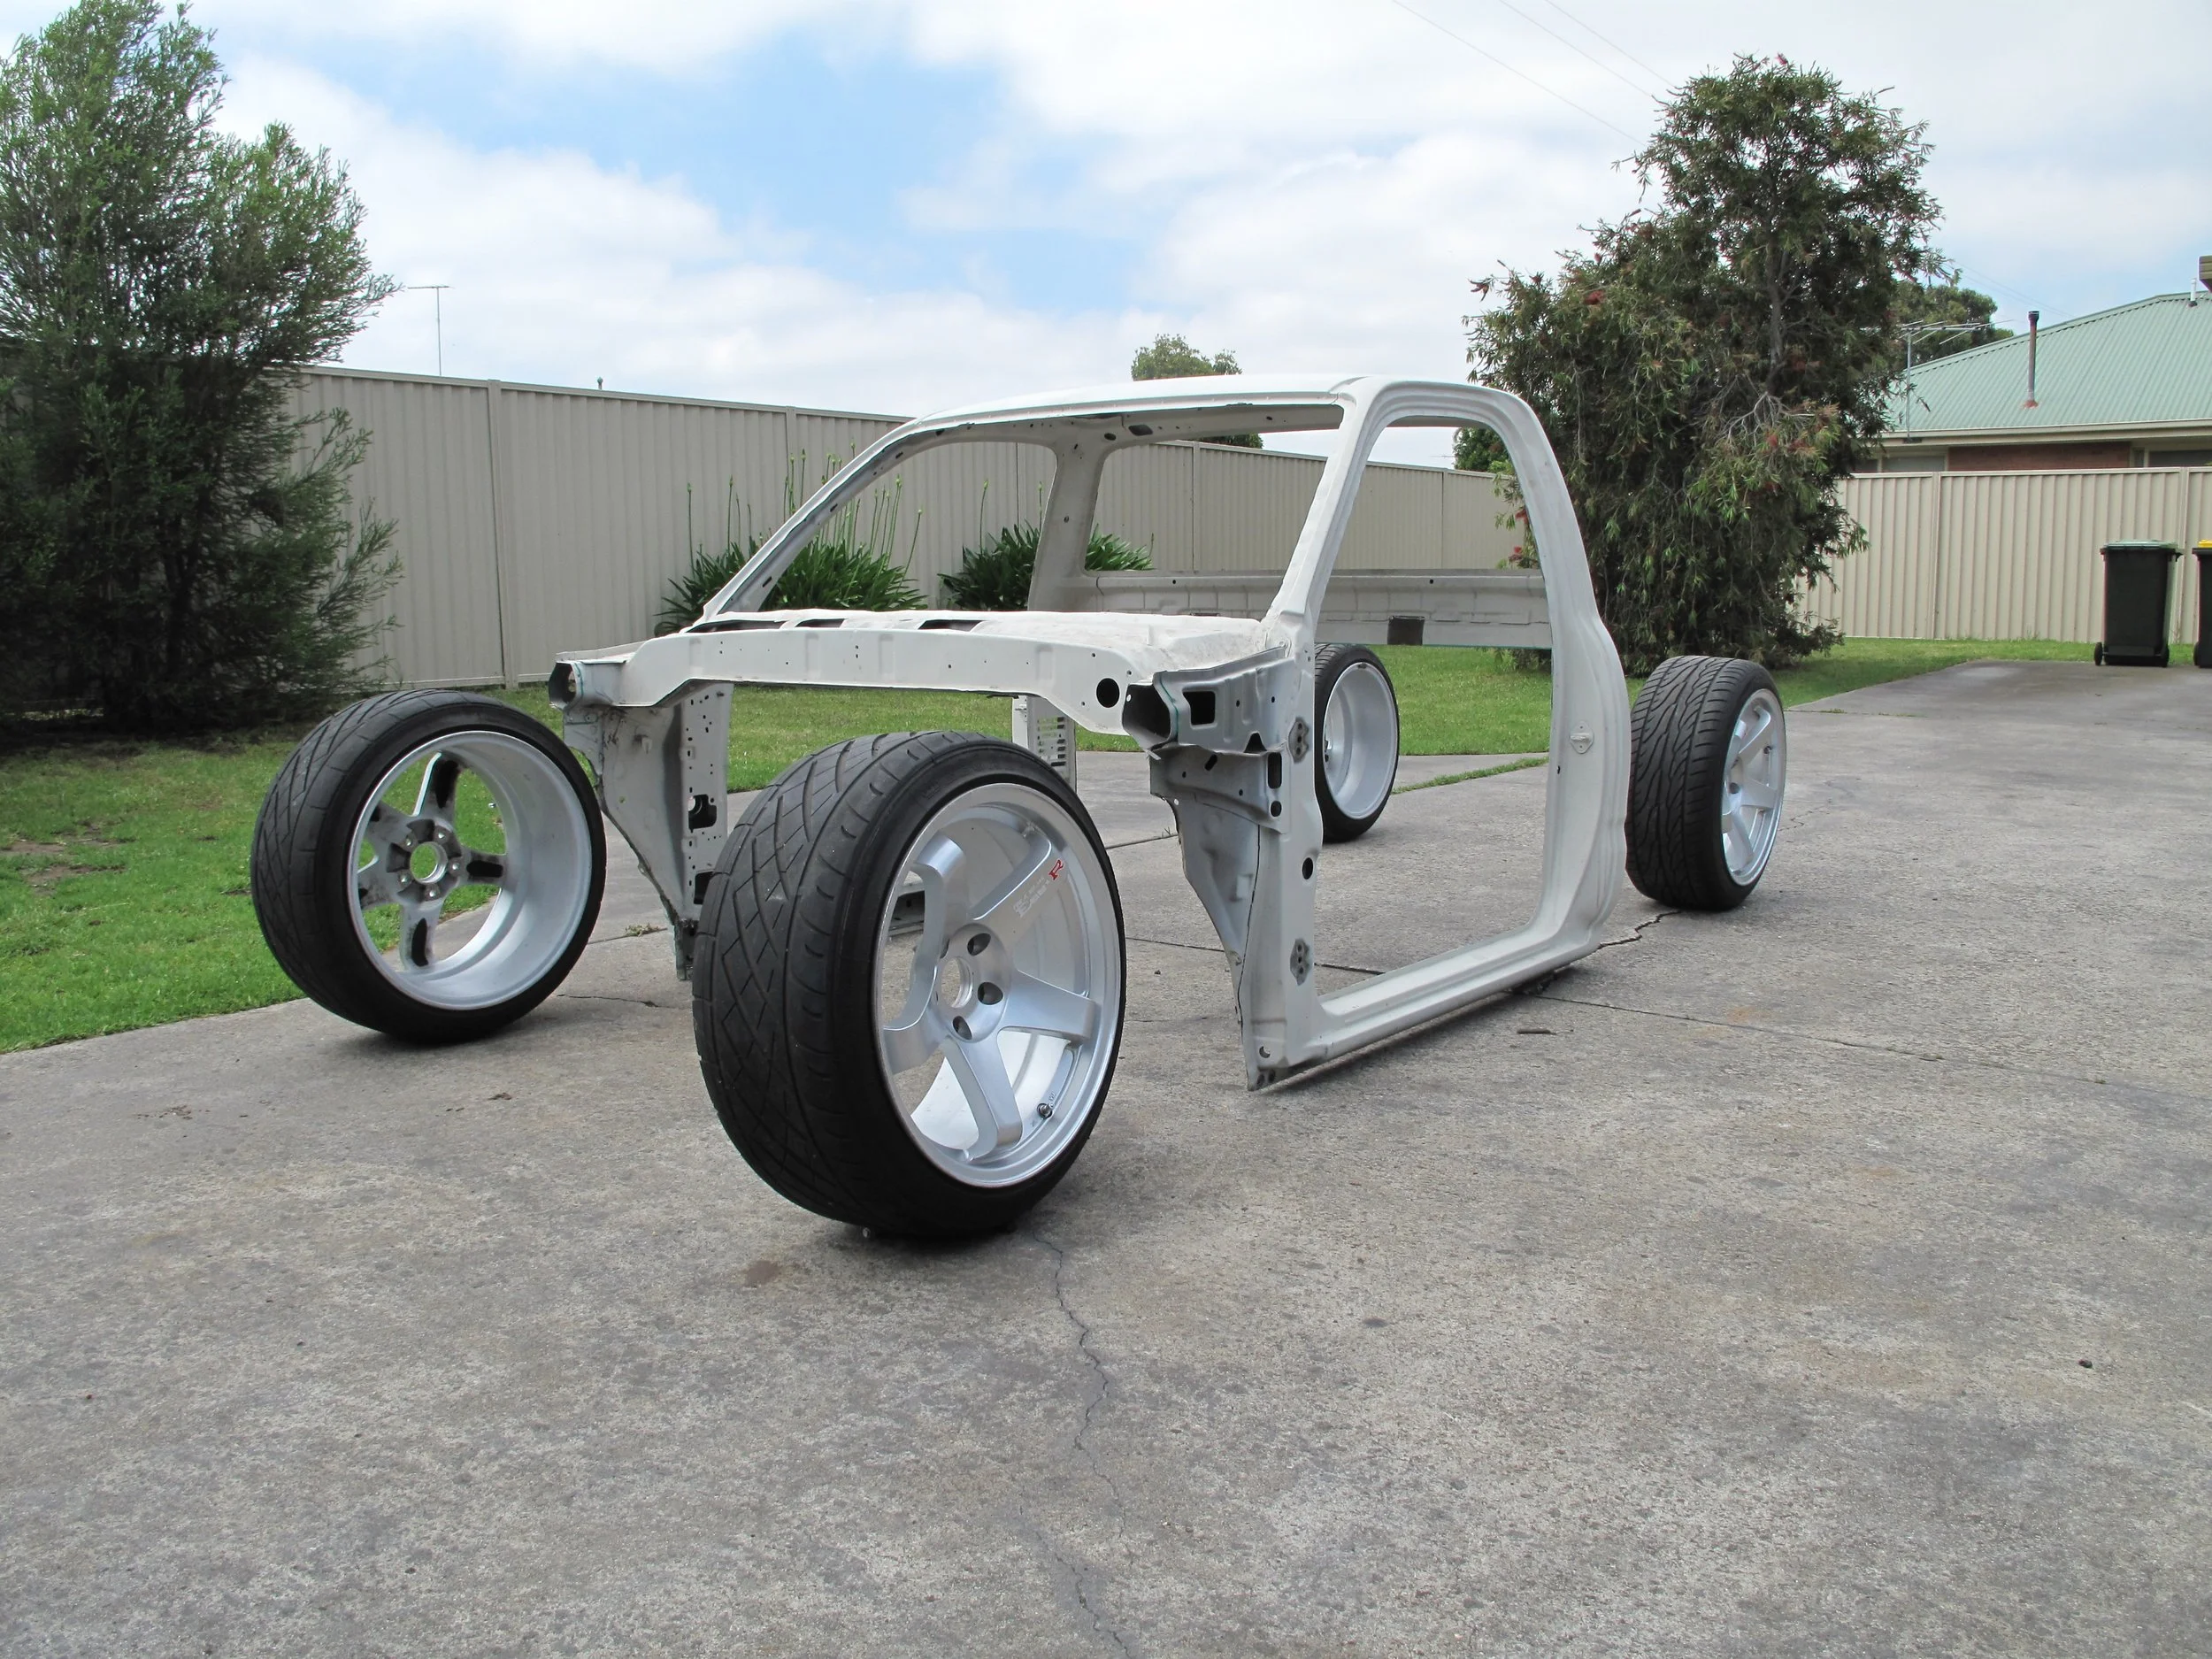
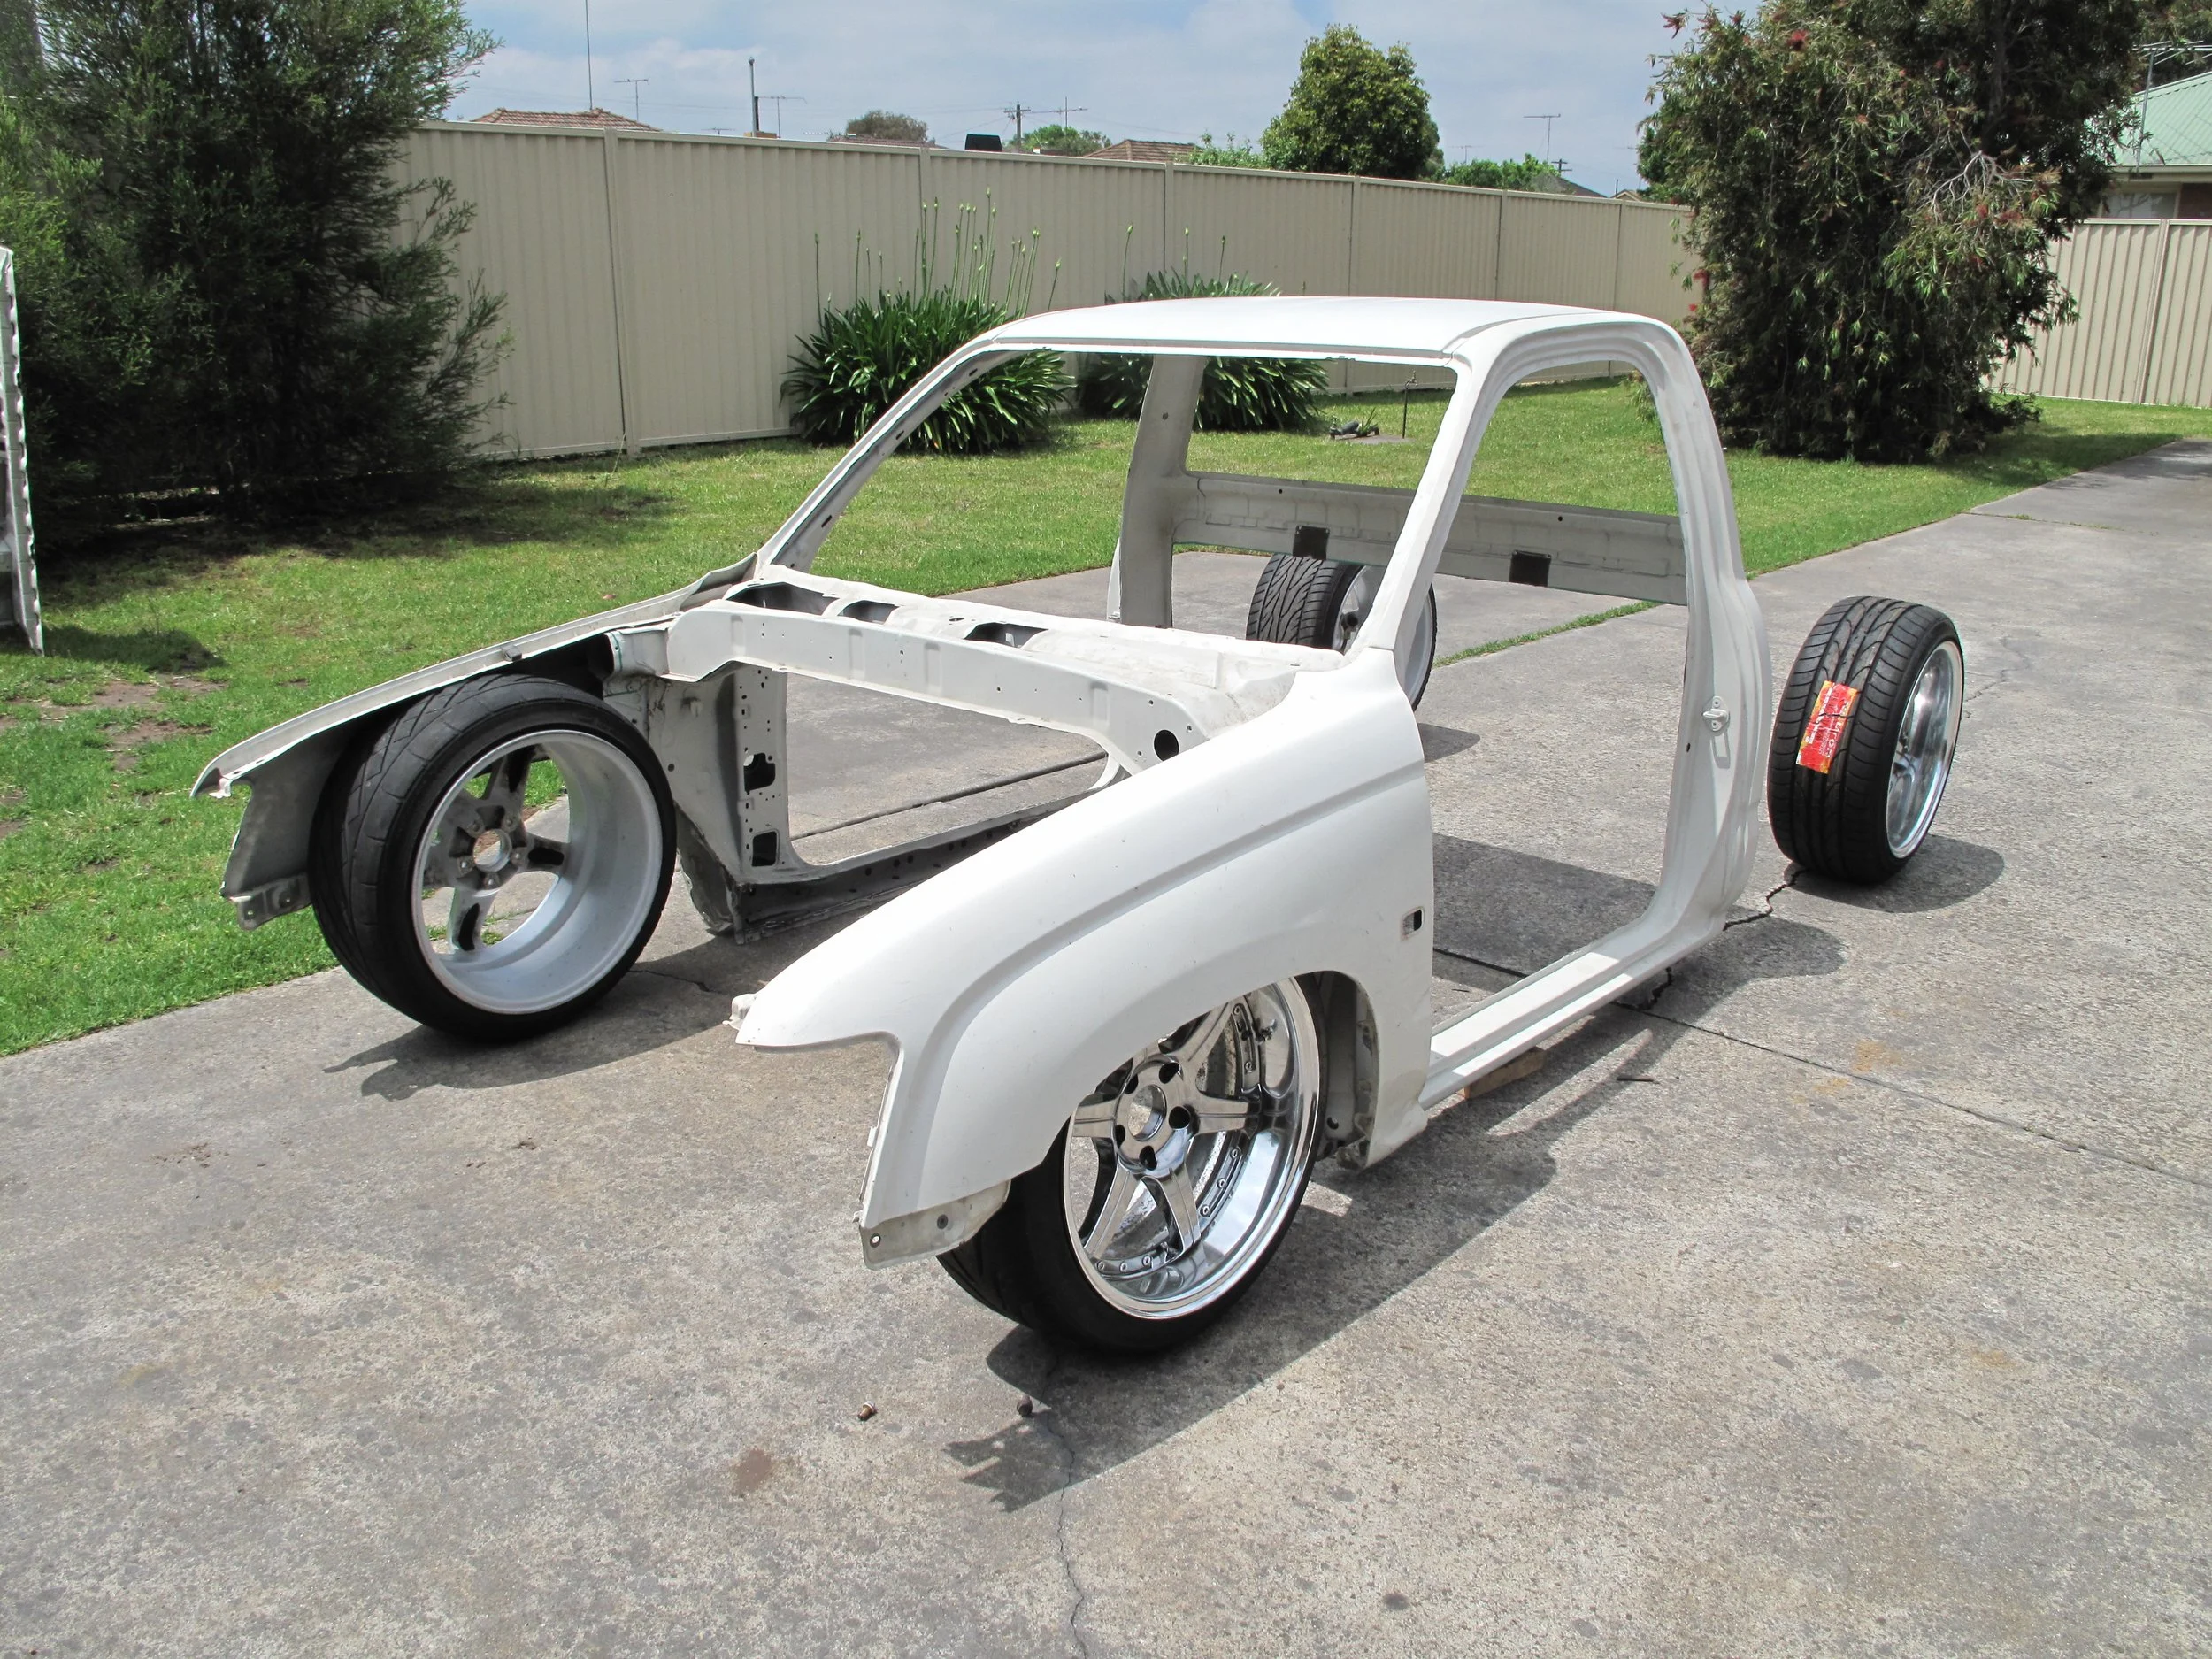
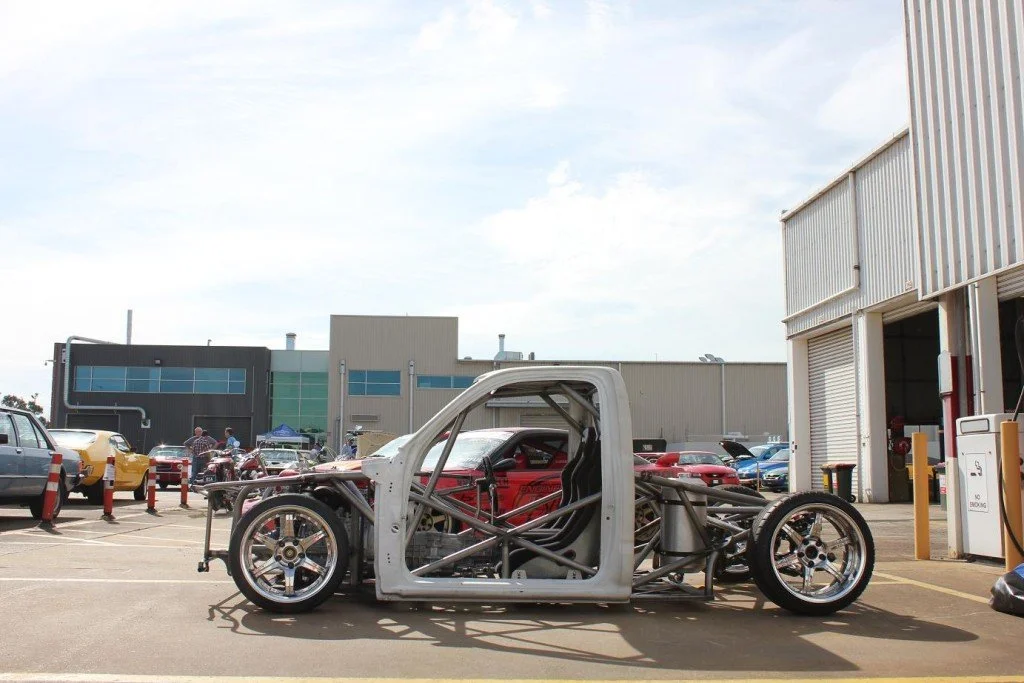
Whenever I felt like I was fighting a loosing battle I would reassemble the chassis and take stock of where I was at. This was the first time I sat in the rolling chassis and relit the fire.


I could finally see it, it could roll in out of the garage and I could see the value in the time I had committed here. I wasn’t crazy, this was a good idea, it will all be worth it.


Late night on the TIG with the door closed in the garage was the new normal, I would come inside after 2-3 hours of welding and feel ill from all the fumes, I didn’t take safety seriosly and I should have invested in a filtered mask for this type of work. That being said I loved time on the TIG because I felt like the perfect weld evaded me every single time, each weld gave me a chance to do better.
Get anytime access to the best Fabrication Courses, learn the staple skills of fabrication all the way through to roll cages and turbo manifolds.


When Ken Block tells you to keep up the great work you do, RIP KB43.


It’s funny where inspiration can come from, I saw this old ute rusing in a field just around the corner from where I grew up, I would pass it weekly and it etched into my brain, how cool would it be to make something like that drift? Now that the welding was complete I had the ability to drag the unfinished Hilux to events that I was drifting in, WTAC would be a staple event on my calender and a chance for me to give inspiration to others.


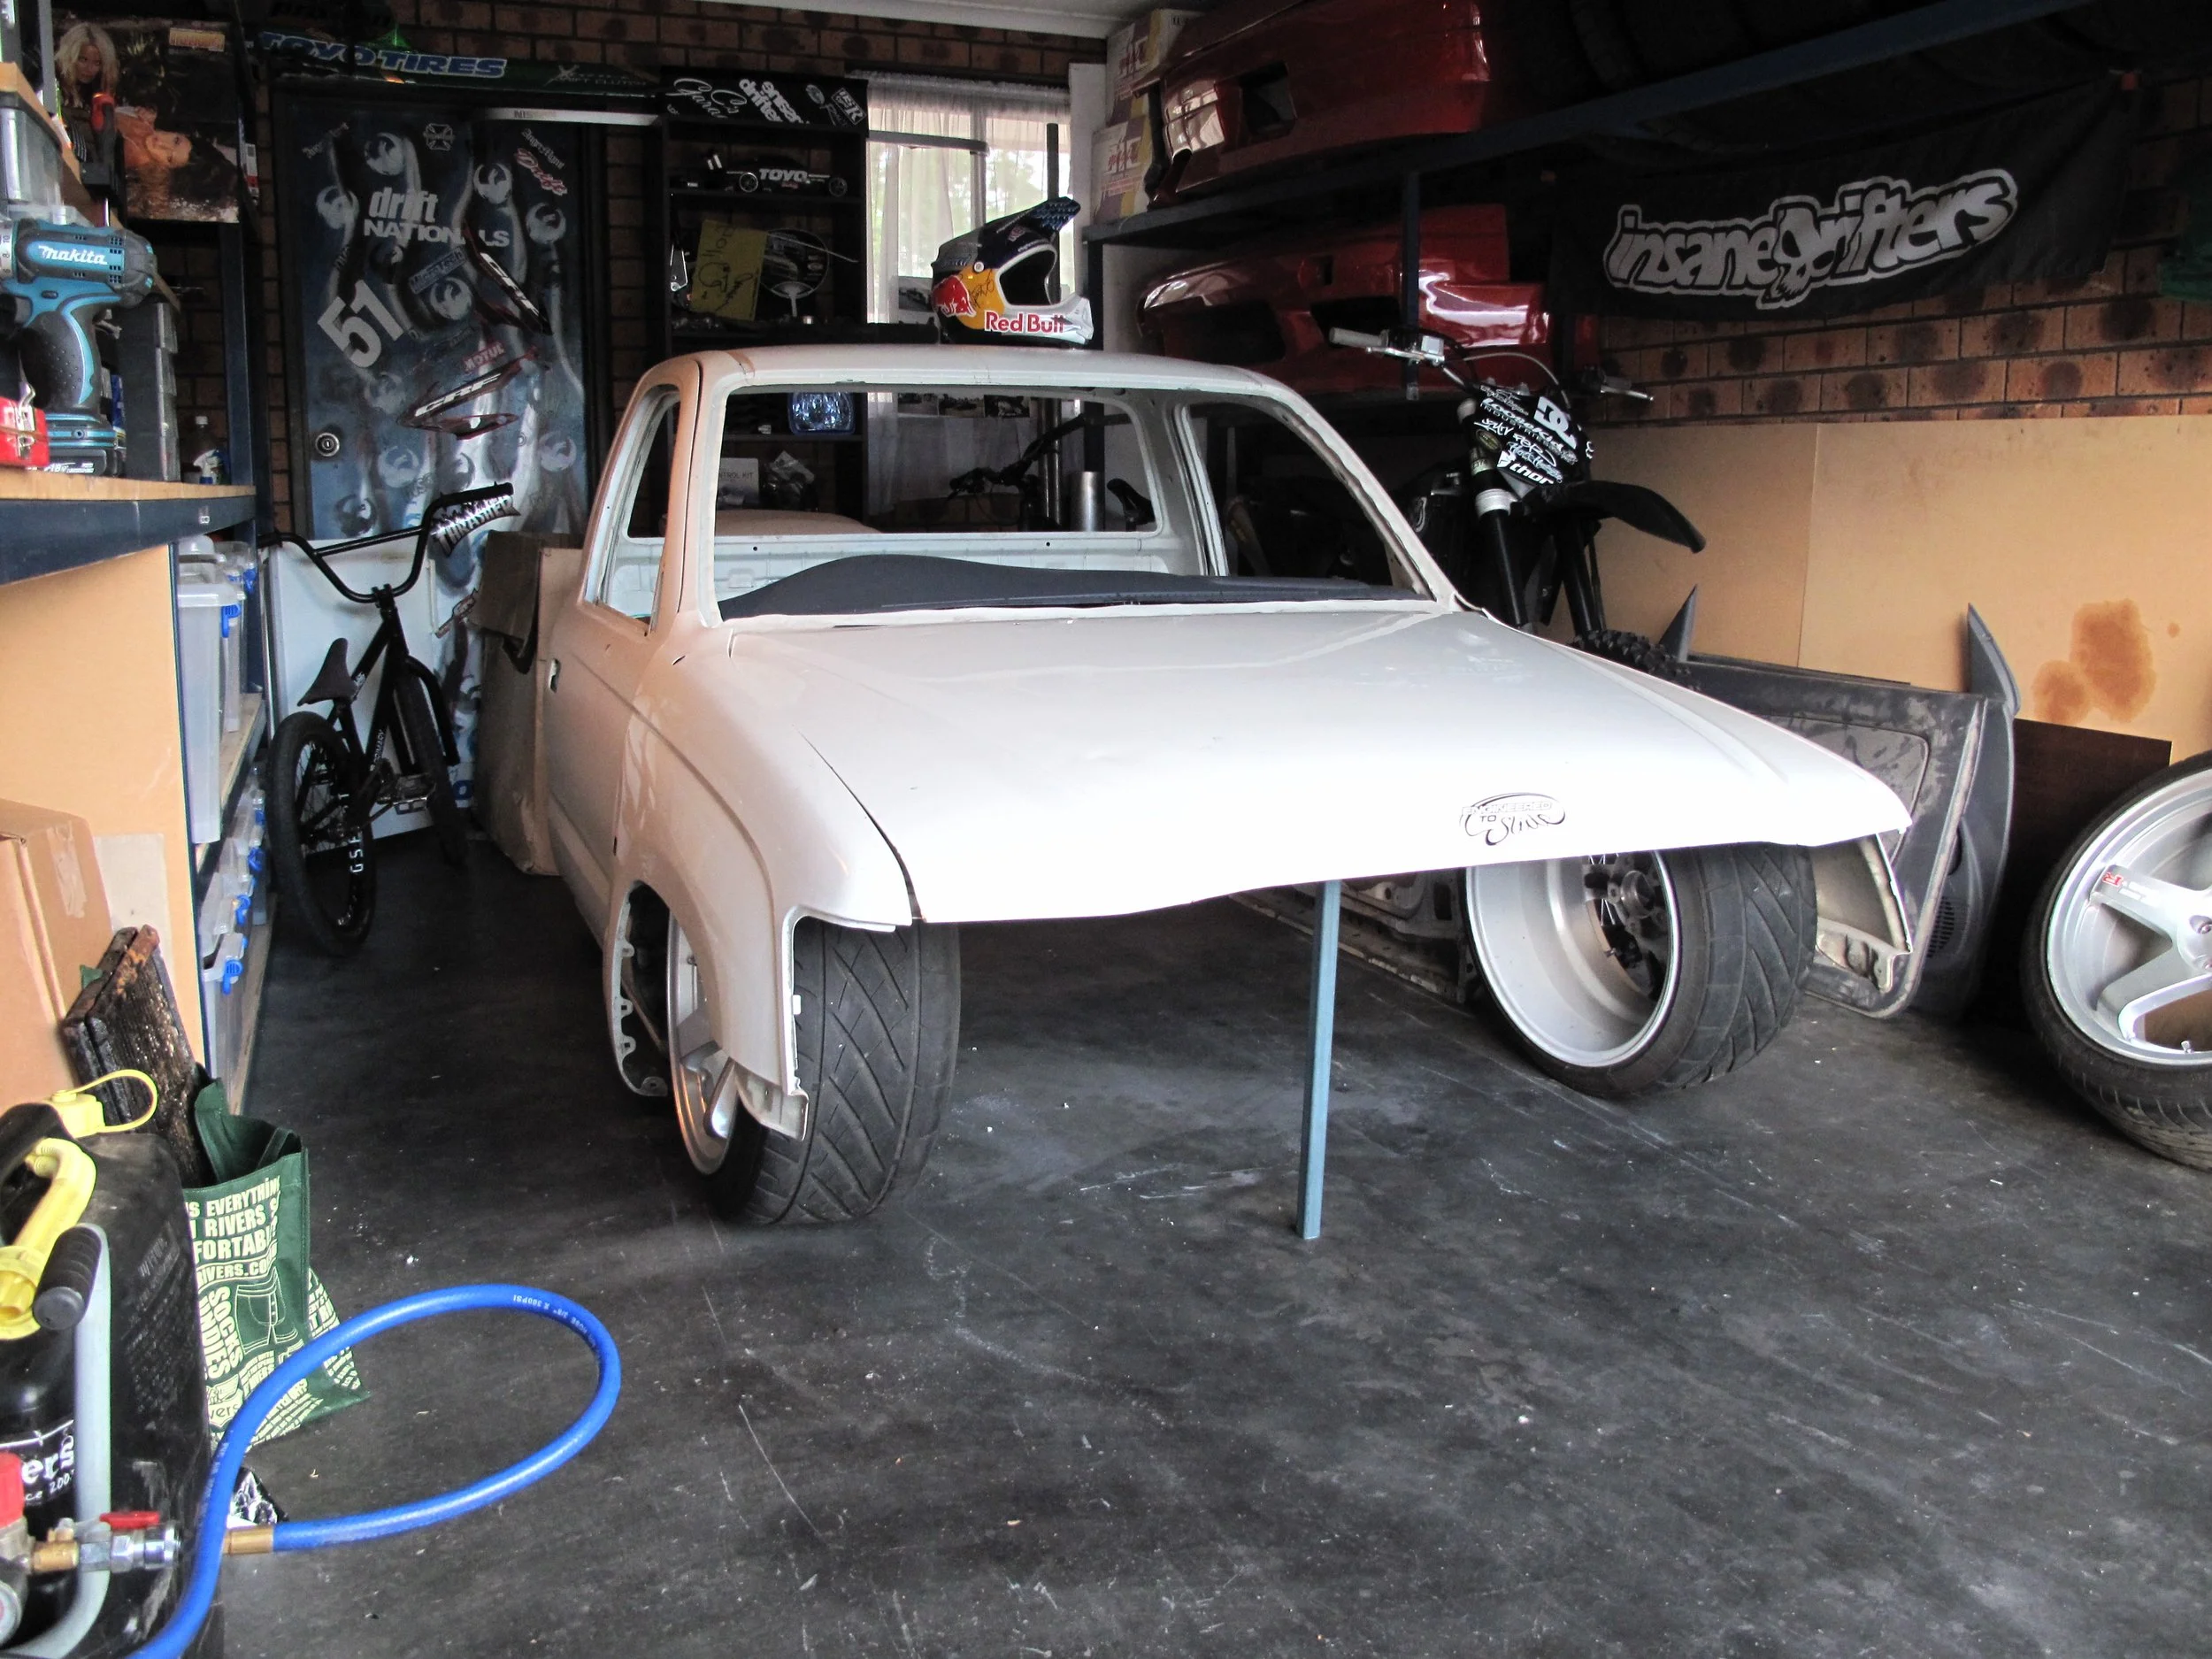
One great thing about the Hilux is reproduction panels can be purchased extremely easily, I bought a complete 4x4 front and got busy making a support structure for it. Theres 14 parts that make up a Hilux nose and it was not an easy task to mount them all. All this would later be scrapped and redone.


I used a Mazworx inlet section to begin the construction of the inlet.


A year and a half later the project was in a good place, everyweek I would spray the tube with lanolin oil to keep the rust away and I would continue to evolve the concept. All of this work was done in my one car garage and as you can see the personal progression from me as a builder exponentially grew through the process. In Part 2 I move into a new property with a an actual garage and we spend the next one and a half years getting this to a finished product.
Thanks for reading.